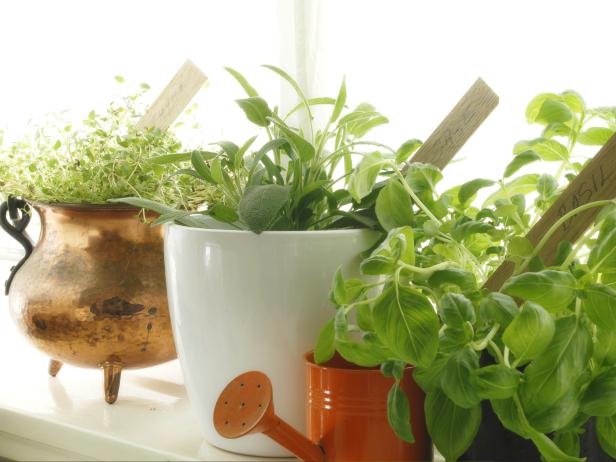
Grow a Kitchen Herb Garden in 5 Easy Steps

yanich
For anyone with even the slightest nub of a green thumb, the longer, lighter days mean that it's nearly time to grow things. Fortunately, there is an almost-foolproof way to do that: Plant a kitchen garden. All you really need is a window that gets at least six hours of south-facing light (without scorchingly hot direct sun) and an ability to remember to water the plants (which is admittedly hard for some). Here’s what else you need to get started and the steps you can take to start an herb garden on your windowsill:
1) Plan: Find some nice containers — individual four-inch pots might be best, since some plants, like oregano, tend to hog a lot of space. You can also use empty cans or other containers, as long as you drill holes in the bottom. Don’t forget that you’ll need something to catch the water that drips out — saucers or a long narrow tray would work.
2) Prepare: Go to a garden-supply store and buy potting soil and starts. Good choices for an indoor herb garden with south-facing light are oregano, chives, basil, parsley, rosemary, sage, tarragon and thyme. Think about what you cook most frequently and which flavors you'd like to have easy access to. Often times, basil is used in bulk — more than an ordinary windowsill can handle. So instead I'm growing chives, rosemary and thyme this year.
3) Plant : If you’re using a single long container, make sure to check the instructions that came with the plant start to find out how much room each plant needs. For each plant, sprinkle potting mix halfway in the container, gently remove the start from its plastic nursery container and place it in the center of the pot. Fill the rest of the container with potting soil, water it and gently tamp it down.
4) Water : Remember to water your herbs daily. Plants dry out a lot more quickly when they’re growing in pots, so make sure to check the soil frequently.
5) Wait : As tempting as it might be to go right in and harvest leaves, you need to give your plants a chance to grow. They should reach at least six or eight inches before you start to cut off some leaves, and you should take no more than a quarter of the plant at any one time. Then wait for that to grow back before harvesting again.


