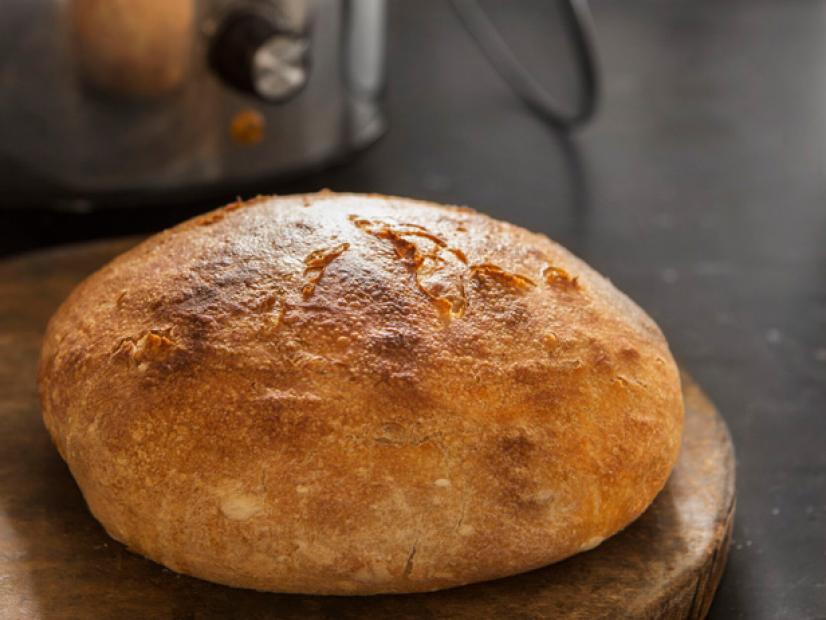
Crock Pot Bread (Fast Bread in a Slow Cooker)
- Yield: Makes 1 loaf
- Yield: Makes 1 loaf
Ingredients
The Master Recipe: Boule (Artisan Free-Form Loaf):
Directions
Special equipment:
Parchment paper, for baking- On baking day, dust the surface of the refrigerated dough with flour and cut off a 1- pound (grapefruit- size) piece. Dust with more flour and quickly shape it into a ball by stretching the surface of the dough around to the bottom on all four sides, rotating the ball a quarter- turn as you go.
- Lower the dough into a 4- quart crock pot or other slow cooker. Be sure to follow the manufacturer's instructions for proper use.
- Turn the temperature to high and put on the cover. (Not all crock pots behave the same, so you should keep an eye on the loaf after about 45 minutes to make sure it is not over-browning on the bottom or not browning at all. You may need to adjust the time according to your appliance.)
- Bake for 1 hour (this will depend on your crock pot, you may need to increase or decrease the time). To check for doneness, it should feel firm when you gently poke the top of the loaf.
- The bottom crust should be nice and crisp, but the top of the loaf will be quite soft. Some folks desire a softer crust, so they'll love this loaf. But if you want a darker or crisper crust . . .
- Remove the parchment paper and place the bread under the broiler for 5 minutes or until it is the color you like, with the rack positioned in the middle of the oven.
- Let the loaf cool completely before slicing. Cutting into a hot loaf is tempting, but it won't slice well and may seem under-baked if you break into it before it's cooled.
The Master Recipe: Boule (Artisan Free-Form Loaf):
- Mixing and Storing the Dough
- Warm the water slightly: It should feel just a little warmer than body temperature, about 100 degrees F. By using warm water, the dough will rise to the right point for storage in about 2 hours. You can use cold water and get the same final result, but the first rising will take longer.
- Add yeast and salt to the water in a 6-quart bowl or, preferably, in a lidded (not airtight) food container or food-grade plastic bucket. Don't worry about getting it all to dissolve.
- Mix in the flour-kneading is unnecessary: Add all of the flour at once, measuring it in with dry-ingredient measuring cups, or by weighing the ingredients. If you measure with cups, use the scoop-and-sweep method, gently scooping up flour, then sweeping the top level with a knife or spatula; don't press down into the flour as you scoop or you'll throw off the measurement by compressing. Mix with a wooden spoon or a heavy-duty stand mixer (with paddle) until the mixture is uniform. If you're hand-mixing and it becomes too difficult to incorporate all the flour with the spoon, you can reach into your mixing vessel with very wet hands and press the mixture together. Don't knead! It isn't necessary. You're finished when everything is uniformly moist, without dry patches. This step is done in a matter of minutes, and will yield dough that is wet and loose enough to conform to the shape of its container.
- Allow to rise: Cover with a lid that fits well to the container but can be cracked open so it's not completely airtight-most plastic lids fit the bill. If you're using a bowl, cover it loosely with plastic wrap. Towels don't work-they stick to wet dough. Lidded (or even vented) plastic buckets are readily available. Allow the mixture to rise at room temperature until it begins to collapse (or at least flattens on the top), about 2 hours, depending on the room's temperature and the initial water temperature-then refrigerate it and use over the next fourteen days. If your container isn't vented, allow gases to escape by leaving it open a crack for the first couple of days in the fridge-after that you can usually close it. If you forget about your rising dough on the counter, don't worry: longer rising times at room temperature, even overnight, will not harm the result (though egg-enriched dough should go into the fridge after 2 hours). You can use a portion of the dough any time after the 2-hour rise. Fully refrigerated wet dough is less sticky and is easier to work with than dough at room temperature, so the first time you try our method, it's best to refrigerate the dough overnight (or for at least 3 hours) before shaping a loaf. Once refrigerated, the dough will seem to have shrunk back upon itself and it will never rise again in the bucket- that's normal. Whatever you do, do not punch down this dough. With our method, you're trying to retain as much gas in the dough as possible, and punching it down knocks gas out and will make your loaves denser.
Looking for Something Else?


Fudge Factor


The Craziest Chocolate Creations for American Chocolate Week Mar 17, 2013
It’s officially American Chocolate Week. Check out photos of mind-blowing chocolate creations.

Sifted: Plan-Ahead Valentine's Day Desserts Feb 6, 2013
Get our take on the best in food news, recipes and more from around the web, including the best Valentine's Day recipes.

Review: Anthony Bourdain and Eric Ripert's Chocolate Bar Nov 16, 2012
Anthony Bourdain and Eric Ripert have teamed up with master chocolatier Christopher Curtin to create the "Good & Evil" chocolate b …

Over-the-Top-Delicious Treats to Satisfy Your Food Obsession
Are you infatuated with ice cream? Do you lust over lobster? Swoon at the sight of chocolate? Here's the best recipe for each food …

Craving: Chocolate Cake Jan 27, 2011

Train Frontman Pat Monahan's Dark Chocolate Obsession Feb 11, 2013
Train frontman Pat Monahan, an avid chocolate lover, shared with us his top five reasons for eating dark chocolate.
Hungry Girl's Chocolate 911 Feb 4, 2011


Chocolate Desserts
Indulge in our decadent chocolate desserts, from cookies and cakes to puddings, souffles and truffles.


Chocolate Matzo Brittle Apr 13, 2011

Sifted: Birthday Doughnuts, Crepe Cupcakes and Carrot Cake Pancakes Mar 21, 2012

How to Chop and Melt Chocolate
Lots of recipes call for melted chocolate. Follow these step-by-step instructions to do it properly.