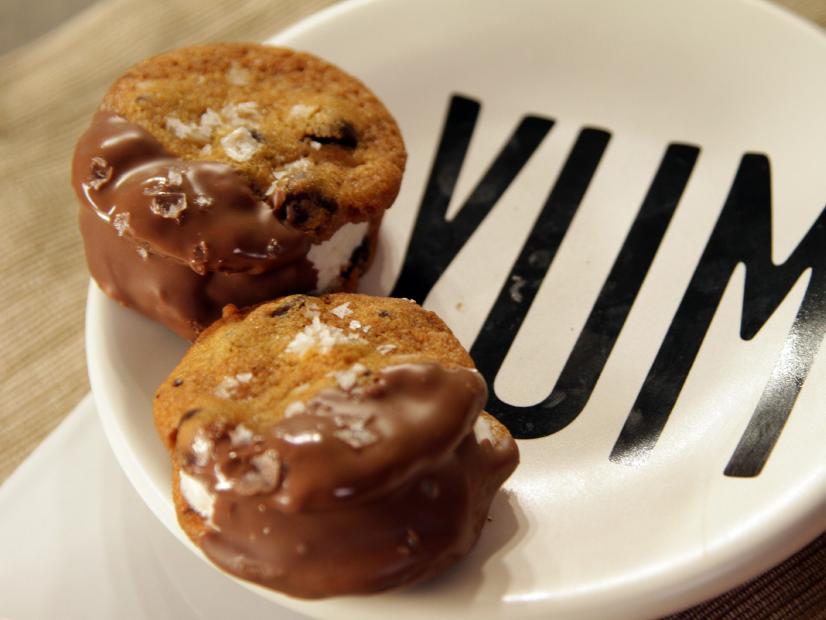
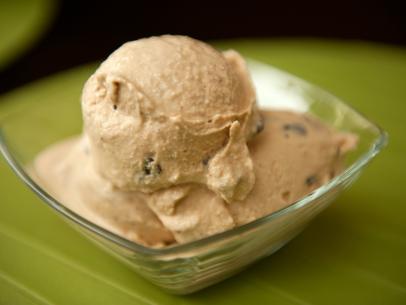
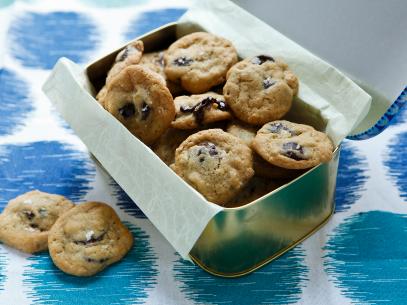
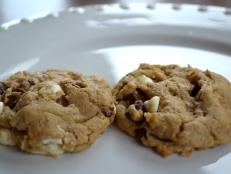
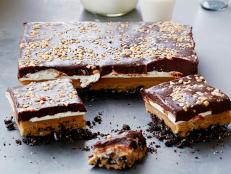
Chocolate Chip and Sea Salt Cookies, Caramel Ice Cream, Dulce de Leche
- Level: Intermediate
- Total: 11 hr 55 min
- Active: 30 min
- Yield: 50 cookies
-
- Nutritional Analysis
- Per Serving
- Serving Size
- 1 of 50 servings
- Calories
- 120
- Total Fat
- 5 g
- Saturated Fat
- 3 g
- Carbohydrates
- 18 g
- Dietary Fiber
- 0 g
- Sugar
- 14 g
- Protein
- 2 g
- Cholesterol
- 16 mg
- Sodium
- 70 mg
Ingredients
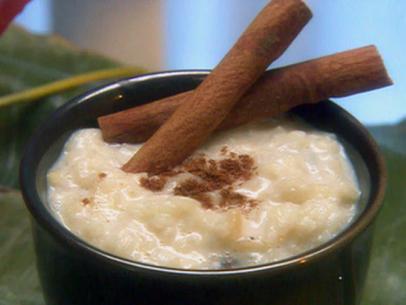
Dulce de Leche:
Chocolate Chip Cookies:
Directions
- For the dulce de leche: Bring a pot of water to a full boil and drop the can into the water, making sure there is water covering the top of the can. Boil continually for 2 hours and 15 minutes, while making sure it's constantly boiling, and the water always remains above the can (you will need to add more water as you go).
- At the end of the cooking period, turn off the heat and allow the can to remain in the water until the water is at room temperature. Remove the can and reserve until the next day, allowing the dulce de leche to cool at room temperature. If unopened, you can keep up to a year.
- For the cookies: Preheat the oven to 325 degrees F. Line baking sheets with parchment paper.
- In the bowl of a stand mixer with the paddle attachment, cream together the butter, light brown sugar, granulated sugar and vanilla paste until smooth and lightly fluffy. Incorporate the egg and yolk and cream until it comes together.
- Sift the flour, baking soda and salt, and add in three steps to the butter mixture, barely mixing between each step, and taking care not to over mix. Just before the batter is completely mixed, add the chocolate chips and mix for another 10 seconds. Again, take care not to over mix your cookie dough, so they are tender when baked.
- Scoop the dough with a number 60 scoop and place on the prepared baking sheets. Flatten the cookies slightly with the palm of your hand, and sprinkle with a generous amount of sea salt. Bake for 7 minutes, rotate and bake another 3 minutes. When the cookies are done, they will have a light brown exterior color, but will remain soft and chewy in the middle.
- To assemble: Spread a small amount of dulce de leche on one side of the cookie, and scoop the caramel ice cream with a number 60 scoop directly on top. Immediately sandwich with another cookie, and keep frozen in the freezer to set up, at least 1 hour.
- When the sandwiches are hard, dip half of the cookie into melted milk chocolate to coat it, and garnish with some sea salt.
Looking for Something Else?


Fudge Factor


Over-the-Top-Delicious Treats to Satisfy Your Food Obsession
Are you infatuated with ice cream? Do you lust over lobster? Swoon at the sight of chocolate? Here's the best recipe for each food …

The Craziest Chocolate Creations for American Chocolate Week Mar 17, 2013
It’s officially American Chocolate Week. Check out photos of mind-blowing chocolate creations.

Train Frontman Pat Monahan's Dark Chocolate Obsession Feb 11, 2013
Train frontman Pat Monahan, an avid chocolate lover, shared with us his top five reasons for eating dark chocolate.


Hungry Girl's Chocolate 911 Feb 4, 2011

Review: Anthony Bourdain and Eric Ripert's Chocolate Bar Nov 16, 2012
Anthony Bourdain and Eric Ripert have teamed up with master chocolatier Christopher Curtin to create the "Good & Evil" chocolate b …

Craving: Chocolate Cake Jan 27, 2011

Sifted: Plan-Ahead Valentine's Day Desserts Feb 6, 2013
Get our take on the best in food news, recipes and more from around the web, including the best Valentine's Day recipes.

Chocolate Desserts
Indulge in our decadent chocolate desserts, from cookies and cakes to puddings, souffles and truffles.

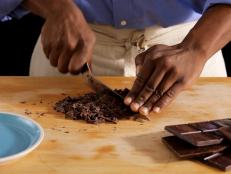
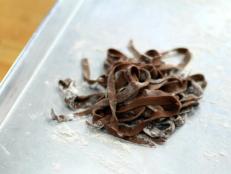
How to Chop and Melt Chocolate
Lots of recipes call for melted chocolate. Follow these step-by-step instructions to do it properly.

Essentials: Chocolate Basics Sep 1, 2016
Satisfy that chocolate craving in your very own kitchen. All you need is baking chocolate and a little know-how. It also helps to …